This post may contain affiliate links. If you click on a link and make a purchase, I may receive a small commission at no extra cost to you. Please read my disclaimer for more info.
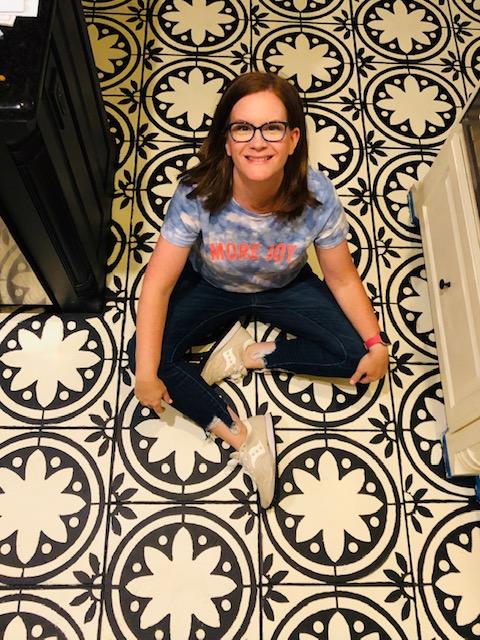
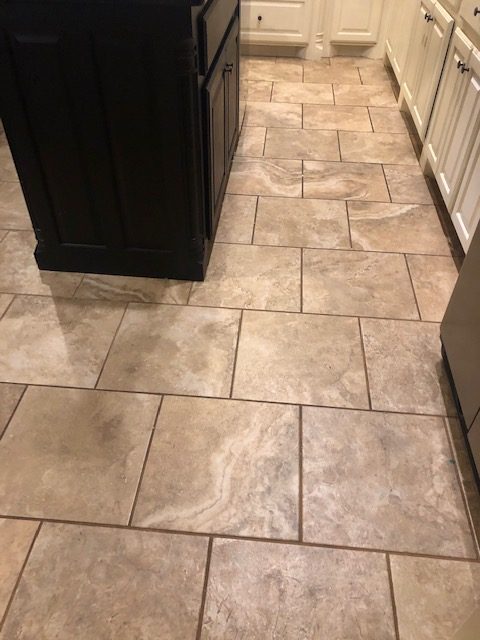
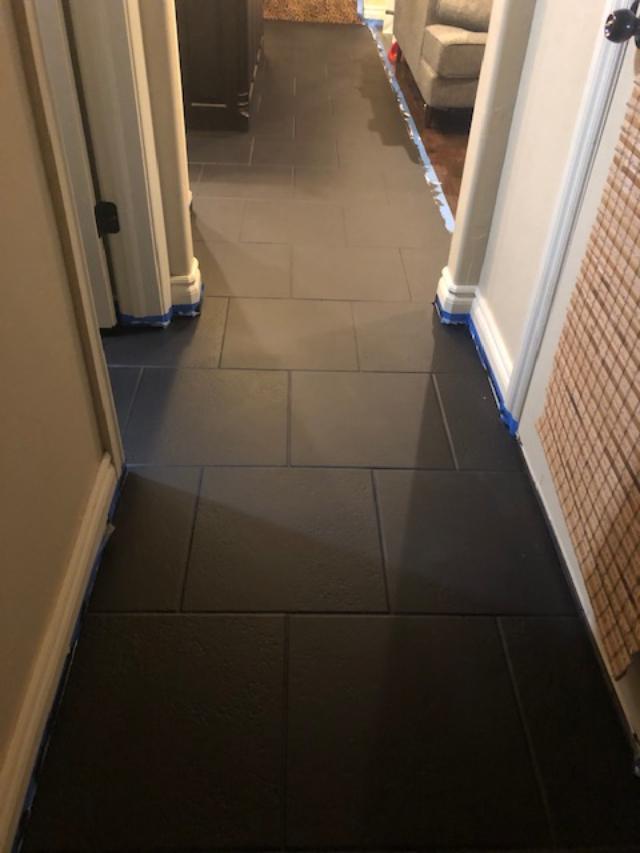
Do you have boring tile in your house, but don’t have the budget to tear it all out and completely replace it? Same girl, same. AND I’m super impatient. I wanted a change right now, and didn’t want to wait to save up enough money to replace it. So, for under $200, I stenciled my kitchen, pantry, and laundry room tile floor and I’m so in love with the way it turned out! I’m an amateur with no special talent, (and as I mentioned, impatient) so if I can do it, you can too! And I’m going to tell you exactly how.
First, you will need to choose your floor stencil. I ordered mine from Cutting Edge Stencils. They have lots of really great options. If you are stenciling over tile, like I did, you will need to measure your tile from tile edge to tile edge-DO NOT include the grout line. Standard sizes to order are 6”, 8”, 12”, and 16”. I needed 16”. Make sure to measure exactly. If your tiles are not one of these listed dimensions, contact them and they will create a custom size for you.
I recommend ordering 2 floor stencils, but you definitely don’t have to. It was helpful to have a second stencil to use when my first stencil got too caked with paint. Periodically, I would wash my stencil, and while it was drying, I was able to use my second stencil to continue my project. Also, I saved doing all of the corners and edges for last. I ended up cutting one of the stencils to make it easier to fit in those tight areas right next to a wall that didn’t need a full stencil design. It just made life a little more simple.
Here is the list of supplies that I used for DIY floor stenciling:
- Heavy duty floor cleaner. I used TSP.
- Painters tape
- Bonding primer-Very important to make sure it’s bonding to make sure you get proper adhesion to your floor. I used this one.
- 2 colors of flat paint (you can use more colors if you want to get extra fancy). I love the Behr Marquee paint because it has great coverage.
- Dense Foam Roller
- Stencil-I used this one
- Stencil Brush-I used this one
- Foam Paint Brush
- Paint Tray
- Clear Water Based Polyurethane Top Coat
Prep Before You Stencil
- Start by cleaning your floors really well with TSP. Read the directions on the box for how much water to mix with it. I applied it with a sponge roller mop. Then rinse really well and let it dry thoroughly.
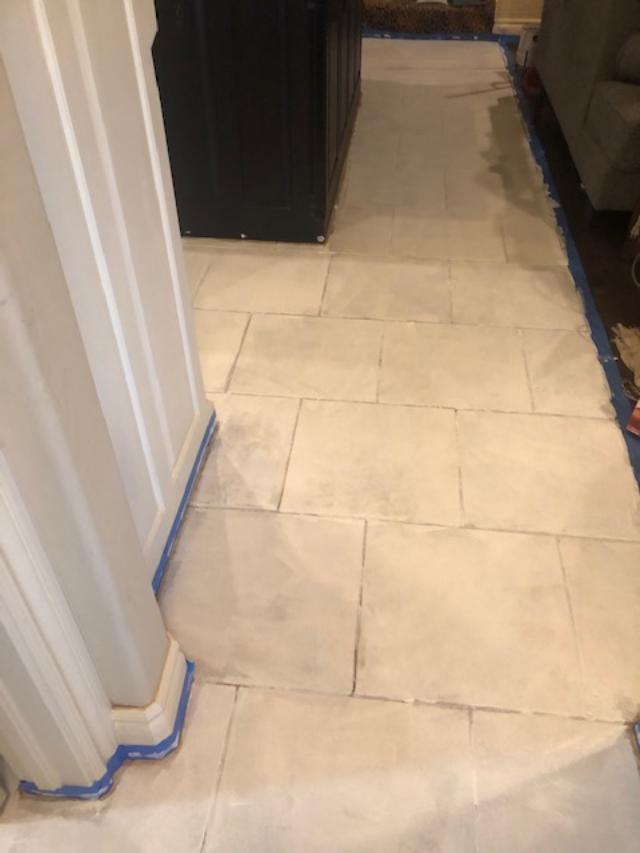
- Tape off all of the edges
- Apply 2-3 coats of bonding primer with a paint roller. Let the primer dry fully before applying your base coat of paint.
- Apply 2 coats of good quality flat sheen paint. I found that by the time I finished the entire floor with one coat, it was dry enough to go ahead and do the second coat.
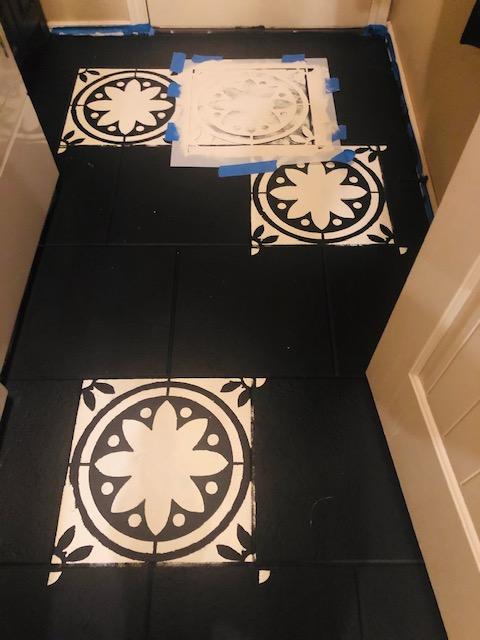
Time To Stencil
I wanted to save all of the more difficult tiles for last when I’d had more practice, so I started with stenciling all of the full floor tiles first. I also started in the pantry, because I figured if there was a learning curve, this would be the most inconspicuous place to mess up.
Line your stencil up with your grout lines, and then secure the edges with painters tape. I used a paint roller for most of my stenciling. You want to make sure that you get enough paint on your brush to reveal the pattern, but not too much, that it causes bleeding. You’ll get the hang of it! I mostly used a roller brush, but for the smaller details I used a small foam brush and a stencil brush.
The website tutorial shows stenciling the tiles one right after the other side by side but I was afraid that I would smear the paint. I highly recommend skipping a space in between and then coming back to do them once the stenciled tiles have had drying time.
After all of the full tiles are done, it’s time for the more difficult corners and edges. If you bought a second stencil you can cut it to fit into the smaller areas. If not, just fold the stencil partly up the wall and tape it down. I had to go back in and do some touch ups, but it really wasn’t that hard. I could have spent hours perfecting every little detail, but I realized that the stenciling is very forgiving and you don’t even see the imperfections when you are looking at the floor as a whole.
Last Step-Seal The Floor
I wanted to make sure the floor was completely dry before sealing it. I waited 24 hours before applying the protective clear coat. For this, you will want to use a water-based polyurethane. Once the paint was dry, I applied 2 coats of polyurethane with a roller brush. This part was a breeze and went quickly.
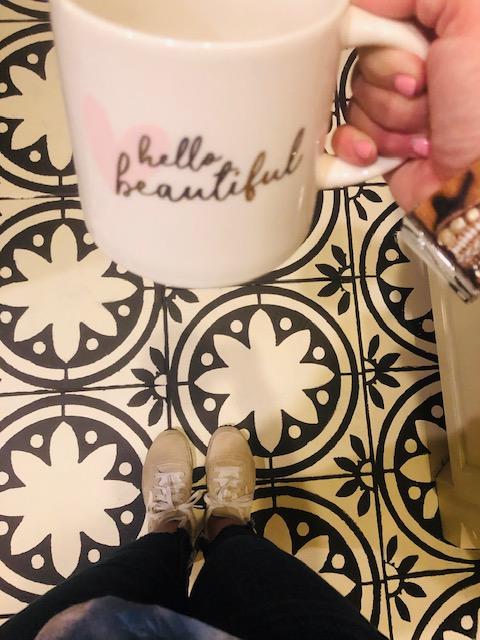
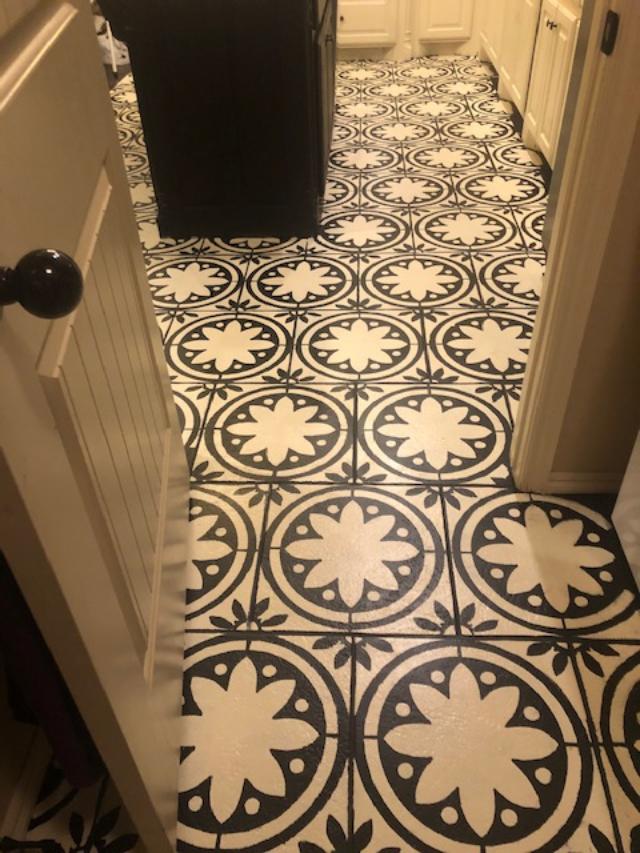
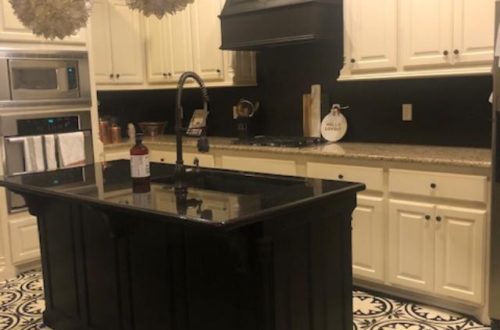
This is probably my favorite, most rewarding project that I have done! I’m still a little bit in shock and awe that I was able to do it on my own. I love it so much and it really wasn’t that hard….and I saved SO. MUCH. MONEY.
If you decide to give it a whirl and DIY yourself a pinterest-worthy floor-or wall, or backsplash, or whatever your stencil-loving heart desires, I would love to see your photos!


2 Comments
Kim
Wow! I can’t believe the transformation!! Your floor looks amazing 🙂
Lori Weaver
Kim-Thank you so much! I still can’t believe it’s the same floor!