This post may contain affiliate links. If you click on a link and make a purchase, I may receive a small commission at no extra cost to you. Please read my disclaimer for more info.
I finished my DIY Wallplanks peel and stick shiplap kitchen backsplash project. Whether you are seasoned at DIY or just starting out, anyone can use this product. It was surprisingly easy and so affordable and I love the way it turned out!
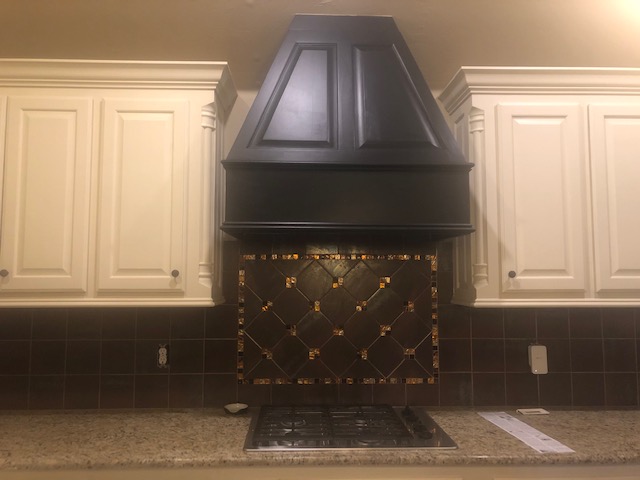
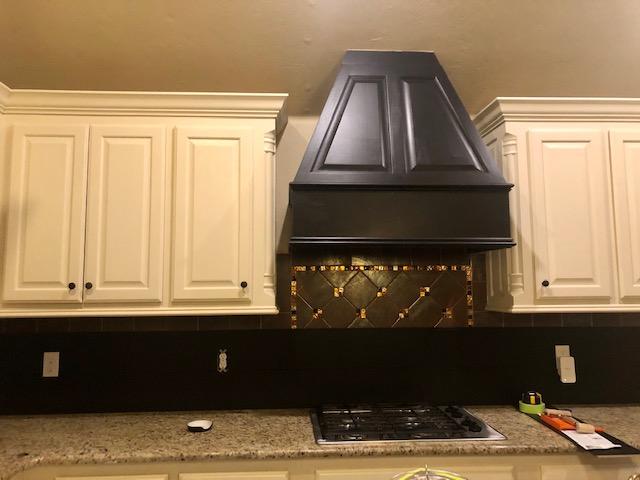
I didn’t want to spend a ton of time or money on my kitchen backsplash. This girl is impatient and on a budget! One of the issues I had was finding a heatproof material since this was going in my kitchen and right behind my gas range. Also, I needed something that could go over my original tile backsplash. Who has time (or the patience) to mess with chipping away tile?
I bought several peel and stick decorative backsplash options from Home Depot, brought them home, and just wasn’t fully happy with any of them. So, back to the store they went. I ordered one piece of a glass peel and stick mosaic tile from Wayfair and had decided that was the winning choice-until I realized that at $32.99/sq ft, it would end up being almost $1,000 for my one project. Wowza! I did not do my math before considering this option. If I wanted to stay married, this would not be an option for me. Back to the drawing board.
I love the look of shiplap and had just completed a diy shiplap project on our dining room ceiling using a pvc plank material. The planks that I used for that would not work for my kitchen backsplash due to not being heat resistant.
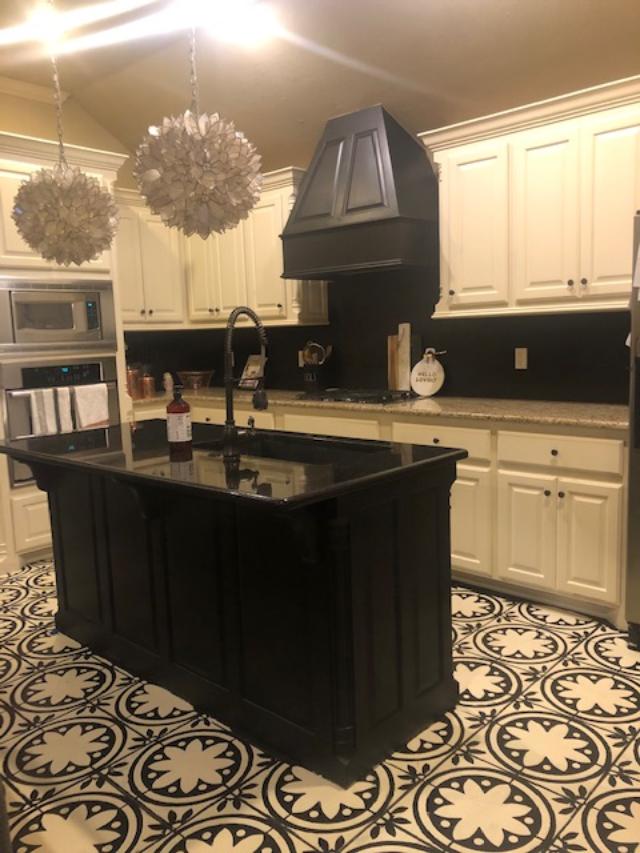
I kept on researching and found a product called Wallplanks. Wallplanks are a peel and stick shiplap, and I love that they are made in the USA. I wanted something with little to no pattern because I had just stenciled our kitchen floor with a beautiful pattern and I didn’t want the backsplash to clash with it. Wallplanks fit the bill!
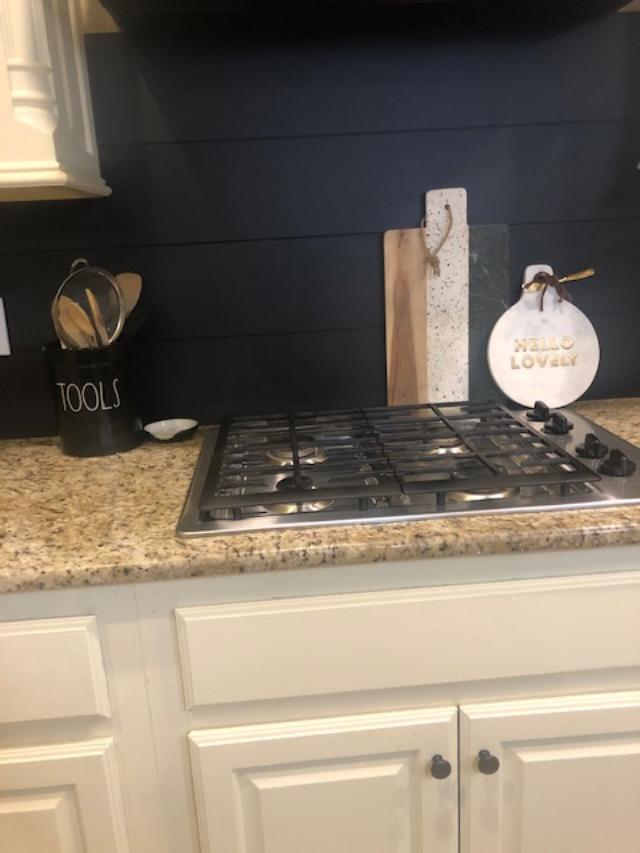
After visiting with a customer service rep to make sure the planks could withstand heat and water and adhere to ceramic tile, I didn’t even order a sample. I just decided to jump in and order ALL of the Wallplanks needed for my kitchen backsplash project. I went with black because I wanted a contrast from my Navajo White cabinets.
Shipping was fast-even during COVID-19 times-and in about a week, I had my Wallplanks on my doorstep. And get this-the total cost was $177! That’s a price I could get on board with.
Here are my tips and the process for installing Wallplanks peel and stick shiplap:
- Make sure your surface is clean before applying the Wallplanks. I cleaned my tile backsplash applying TSP with a sponge. You want your surface to be thoroughly dry before applying the Wallplanks.
- Remove any outlet covers.
- Start at one side of the room when applying Wallplanks. I started on the left and positioned my first plank butted up to the countertop. Wallplanks have a tongue and groove, so make sure the groove side is up. Peel the wax paper off of the back of the plank and stick to your surface. Then use a pizza roller (or J-Roller) to roll over the plank to ensure that it sticks really well. The instructions say to use a J-Roller, but I don’t have one so I improvised with an old Pampered Chef pizza roller, and it worked just fine. Sometimes you’ve gotta get creative and work with what you have.
- When applying the next row of planks, interlock with the previous row. Make sure you have the plank exactly where you want it. It’s very hard to remove the planks once they’re stuck. That VacuuBond adhesive is no joke!
- I used a miter saw to cut any planks to fit. I then used the cut off pieces to start the next row, so there was no waste. You can also use a jigsaw or handsaw. I’m fortunate that my father-in-law let me borrow his miter saw. It made life easier.
Tips-
Position your full planks in the most noticeable areas. I started at the bottom, next to the countertop, because I knew the top area would not fit a whole plank and some would have to be cut off. The top section is partially hidden by cabinets, so this worked out well. You really can’t even tell that they’re partial planks.
I removed the wood trim around the bottom of my cabinets on either side of the range before installing the planks to give it a nice finished look, rather than cutting the planks to fit around the trim. I highly recommend taking a few extra minutes to do this.
That’s it. Just repeat until the entire area is complete. Easy peasy!
I did have an issue with a couple of planks not sticking to my old tile. I have some decorative glass tiles that protrude out a bit more than the standard tiles, which made the planks not want to stick as well. To fix that issue, I used the miter saw to router out the back of the Wallplanks just enough to make them stick to the few protruding glass tiles.
This project was really simple and Wallplanks were so easy to work with. I love the way they transformed my kitchen backsplash. Such a fresh clean updated look!
Have you tried Wallplanks yet? What’d ya think?


This blog post is sponsored by Wallplanks. For 35% off a full carton order plus free shipping in the United States, use code #LWEAVER35